![LaserStar Technologoes Logo-01.png]](https://26739.fs1.hubspotusercontent-na1.net/hub/26739/hubfs/LaserStar%20Technologoes%20Logo-01.png?height=40&name=LaserStar%20Technologoes%20Logo-01.png)
Disclaimer: The procedures described herein should be performed only by or under the supervision of specialized technicians. LaserStar is not responsible for damage to parts, equipment, or persons attempting to perform any of these procedures without proper supervision or technical assistance, proper tools, or safety measures necessary for laser, high, and low voltage handling.
Steps:
-
With the laser turned OFF, remove the Beam Expander’s top cover. Disconnect the multicolored cable at the top before removing the cover.
-
With the Beam Expander open, turn on the laser by pressing the red button first.
-
Observe the Beam Expander while turning the key. Verify that it moves.
-
Confirm that both the green and red LED indicators illuminate. If the LEDs do not illuminate, the Beam Expander is not receiving 24 V from the control board.
The Beam Expander should move to the position required by the opening specified in the laser setup. This movement indicates that the unit is positioning correctly. If the Beam Expander becomes stuck at the front or rear limit, or does not move when the key is turned, replace the Beam Expander.
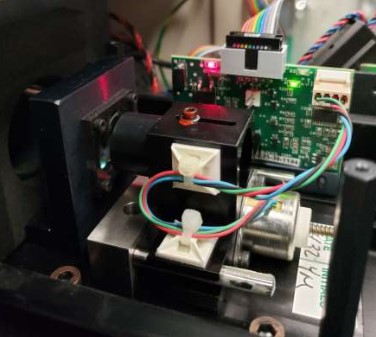
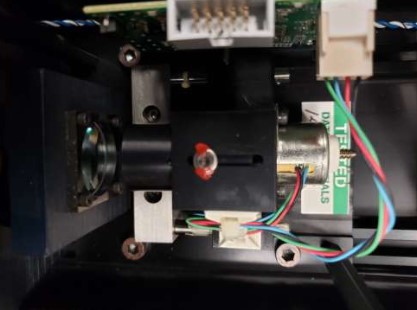
Contact the Service team for additional testing under the guidance of a specialized technician. Order the Beam Expander through Service to ensure it is properly calibrated for your laser.
Was This Article Helpful?
Take our survey and let us know your feedback.
Still Need Help?
If you need our assistance with your issue, please contact our customer support team at (1) 888-LST-SRVC (578-7782). If you're looking for support outside of our regular business hours, please leave a voice message or send an email at service@laserstar.net